|
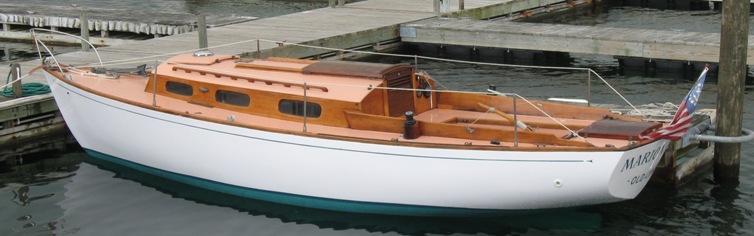
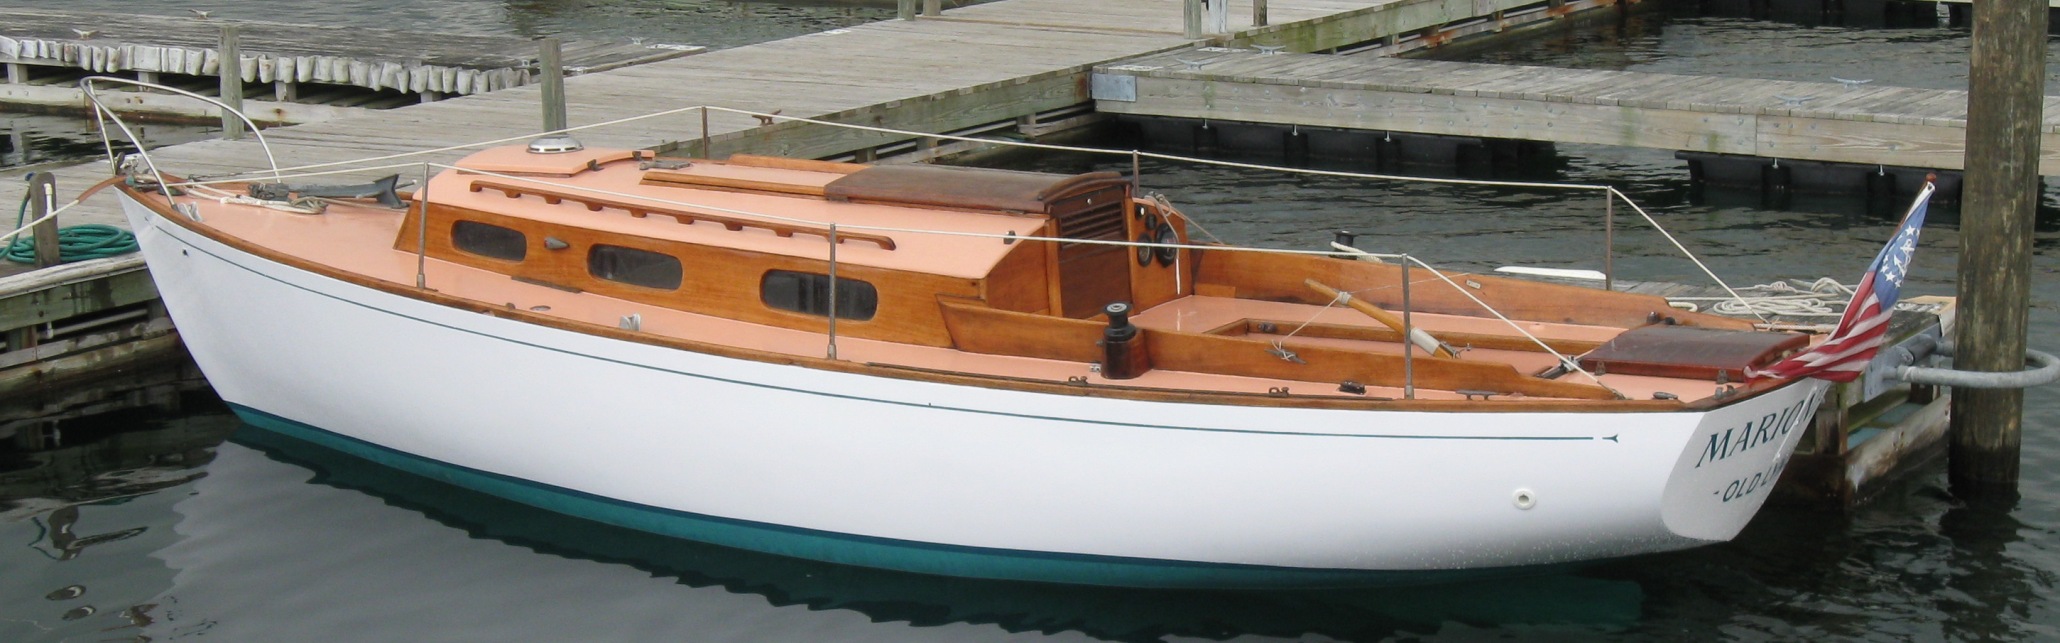
October 11, 2014, 2014. Marionette, Marscot/O'Day #12, is an unusual Dolphin. She was purchased in 1960 as a bare fiberglass hull and her first owner, Phil Zerega, built a wood boat on that hull, using plans, we think, from the Mermaid 24, the S&S wood Dolphin. Click here to see her construction. Her house is solid mahogany and her portlights are heavy, non breakable acrylic plastic, They were originally, and simply, fastened to the inside of the house with 21 brass wood screws and washers.
Click here for a larger view

After a few years of putting up with leaks and periodic re-gasketing, and worrying about gradual eroding of the screw holes in the wood, I decided to replace all the screws with brass double threaded inserts that are 'permanently' set in the wood (that's 21 inserts each x 7 portlights - total 147 inserts!!) so all I had to do when re-gasketing was to remove the little bolt and washers holding the portlight to the house. And, then I decided to get serious about a gasket material.
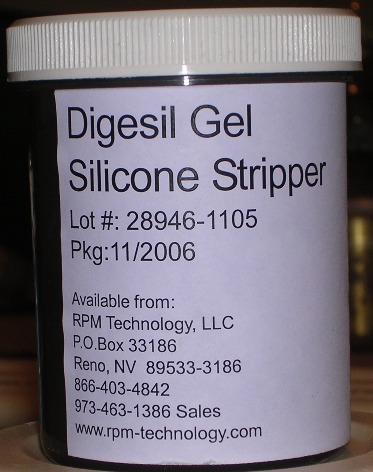
The picture above left is the start of the removal of the old, clear silicon gasket material. The clear attribute was good because you could see through it, and the portlight inside with its rim of brass screw heads and washers looked pretty good against the mahogany. But I still had leaks.... Getting rid of the silicone without sanding required a special product (picture at right) to be sure there was good adhesion for the next gasket try.
|
|
The 'get serious about leaking' effort resulted in using a 'thick' 3M black urethane tape product that deformed under pressure. When pressed it formed a nice bead on the outside (picture below), and I've had no portlight leaks for 4 years now.
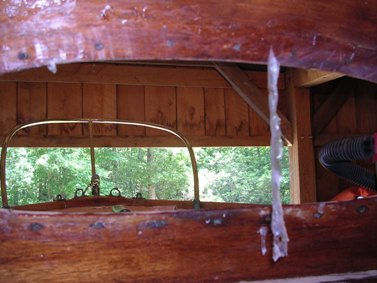
But inside it was ugly as the deformable urethane tape spread and conformed to the uneven, not perfectly flat, wood surface. See picture at right.
More on what I did about 'ugly' later.
|
|

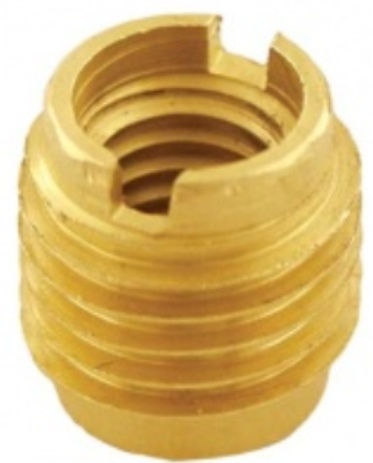 |
The picture at right is the brass insert. I drilled out the old hole in the wood to the minor diameter of the insert and screwed it into the hole - 21 per portlight.
I used a small silicone washer directly against the portlight to minimize the potential for stress cracking at the hole due to expansion/contracting of the acrylic and any contact with the bolt. I also used a small brass washer under the bolt head on top of the silicone washer.

Someday, I'll get a better picture up here
Using a battery powered screwdiver I screwed in the little bolt applying screw down pressure gradually and progressively around the portlight to try and deform the tape uniformly.
The result was good adhesion and a nice even bead outside, but on the inside the gasket material flowed into the uneven gaps/space between the wood and the acrylic resulting in an uneven tape line. Picture up the page.
|
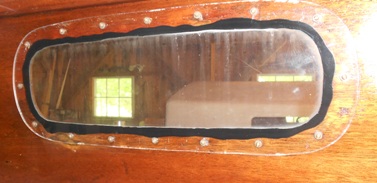
Over the past 3 years I tried a few 'ugly' fixes including taping a 'mask' over the portlight to hid the uneven flow of the gasket material. Hassle job, and eventually the tape would not stay stuck. Then I decided to paint a thin 'rim mask' using a black latex paint so it would just cover the uneven gasket edge and 'blend' visually with the gasket material, and so you could still see the wood through the outer edge of the portlight. Nice idea but I had to paint along a line even with, or just outside the bolt heads to make the mask uniform on all portlights. That meant I'd have to remove all 147 bolts, then tape two perfect lines. Around the curved ends this was difficult with the portlights mounted (if they were laying flat on a worktable probably doable but I did not want to take down 7 portlights that did not leak!). Anyway, I did one up in the v-berth with the portlight in place. it looked ok but getting a really nice line consistantly was a lot of hassle, and I really didn't like the look. Then procrastinated.....
So this past spring I decided to paint a full mask on the outer edge of the mounted portlights using a latex paint that was a closer color match to the mahogany. I still had to tape one line, the inner line, and remove all the bolts... At the end of season, still no leaks and here's the look - Marionette is in her barn ready for her winter nap.

V-berth portside - click here for a larger view
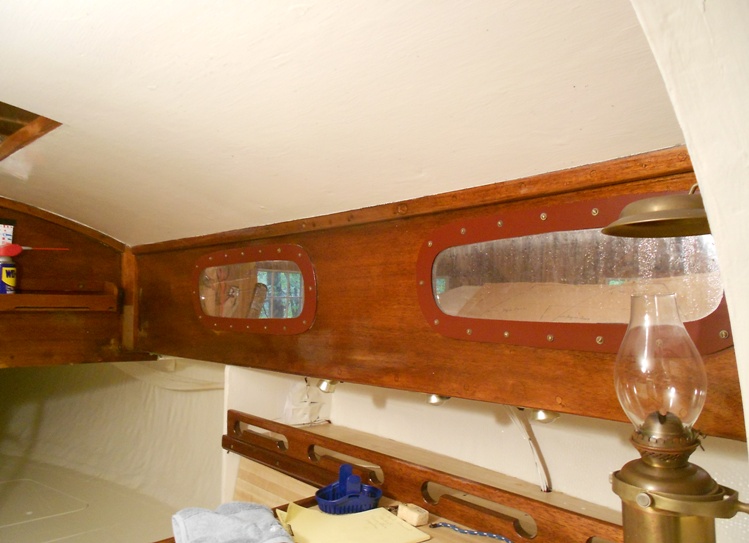
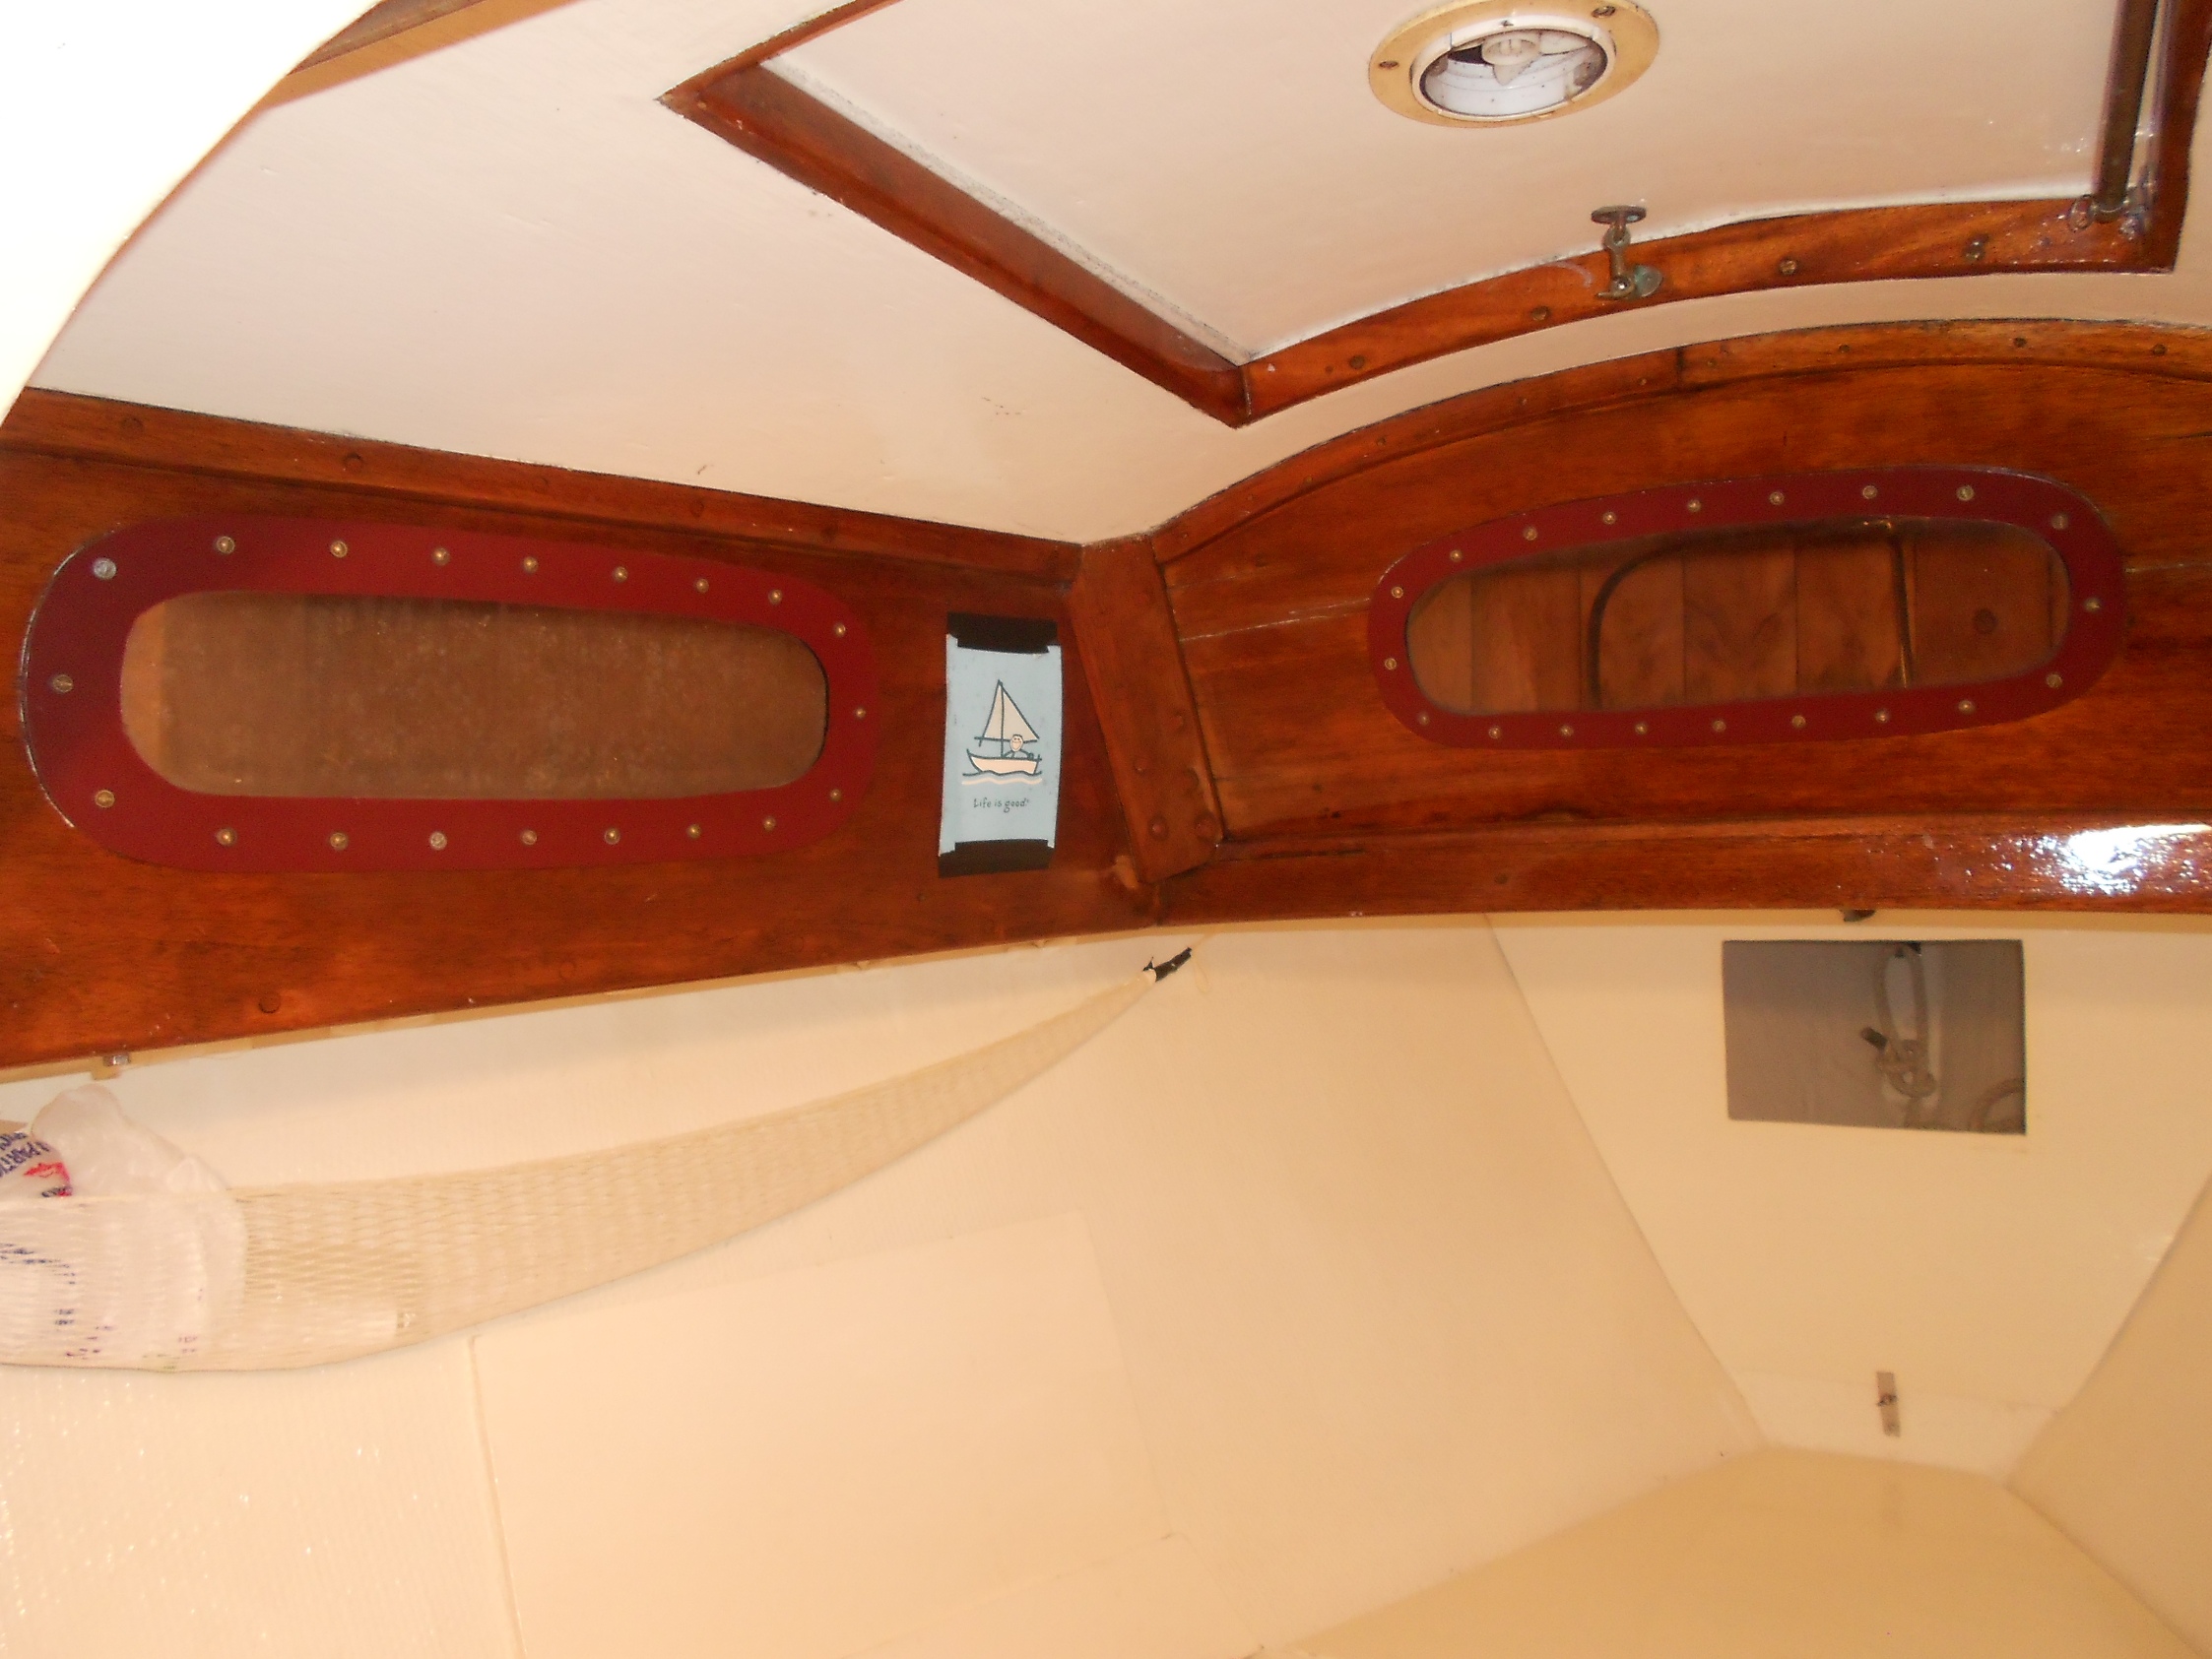
Main cabin port side - click here for a larger view
I need to redo/clean the portlights with our magical cleaner but it doen't look too bad, does it?
****************************************************
October 13, 2014 - Whew - Jerry thinks its ok
I like what you did to Marionette's portlights. They look neat enough to leave alone, you hear, LEAVE ALONE. Well, that's my opinion anyhow.
Jerry, ROWDY, #5
|
|


