February 28, 2014. Eyebrows...Eyebrows?? This is about the little bit of wood trim that surrounds the top edge of some of our Dolphins. This starts as an inquiry from Jerry Slaughter San Antonio, Texas, ROWDY, and a response by Bill Thomas - Ruby - South Berwick and Blue Hill, Maine). Coincidently, These boats are adjacent to each other on our Rosters, both in hull #'
and name? (no kidding - check it out Roster by hull # and Roster by name). Apologies, but trivia is important to the webmaster class.
|
Hi Ron,
Would you ask Bill about the eyebrows on RUBY. I like the look but the running lights on ROWDY are very near to the edge of the cabin top. I don't think they were standard for our era Dolphins but they look good, to me. Are they mahogany or teak? I would be interested in the measurements of the trim and would like to know if the trim is cut around his side lights. Also, how are they attached? Thanks in advance,
Jerry |
********************************
Hi Jerry,
I’ve been watching the progress you are making on Rowdy. You have moved ahead with a couple projects I thought about and then bailed on. Most notability the ceiling forward. It looks great. You’r building out a great cruiser. I’ll get to my interior next winter I hope. For now I’m focused on painting, varnishing and rebedding pretty much, everything . While the deck fittings are off I’ve sanded and painted the ceiling and undersides of the deck as well.
The eyebrows on Ruby are mahogany, and the running lights do get in the way. I’ll send you photos of how the running light wood trim is cut away to clear the eyebrows. All my wood parts are at a stripper right now as I’m wooding before I start to varnish work. Once I get the parts back I’ll send you photos and dimensions. The eyebrows are held in place with ss screws backed with beauty washers. These are driven from the inside of the house into the trim. Not a perfect method as two of the end were loose. It might make sense to bolt the 4 ends.I’ll be in touch when I have more information. Feel free to touch base with me directly but we’ve got to keep Ron in the loop. He loves this stuff too much to be left out.
Bill Thomas
***********************
|
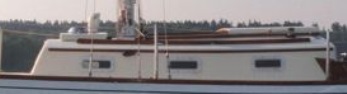
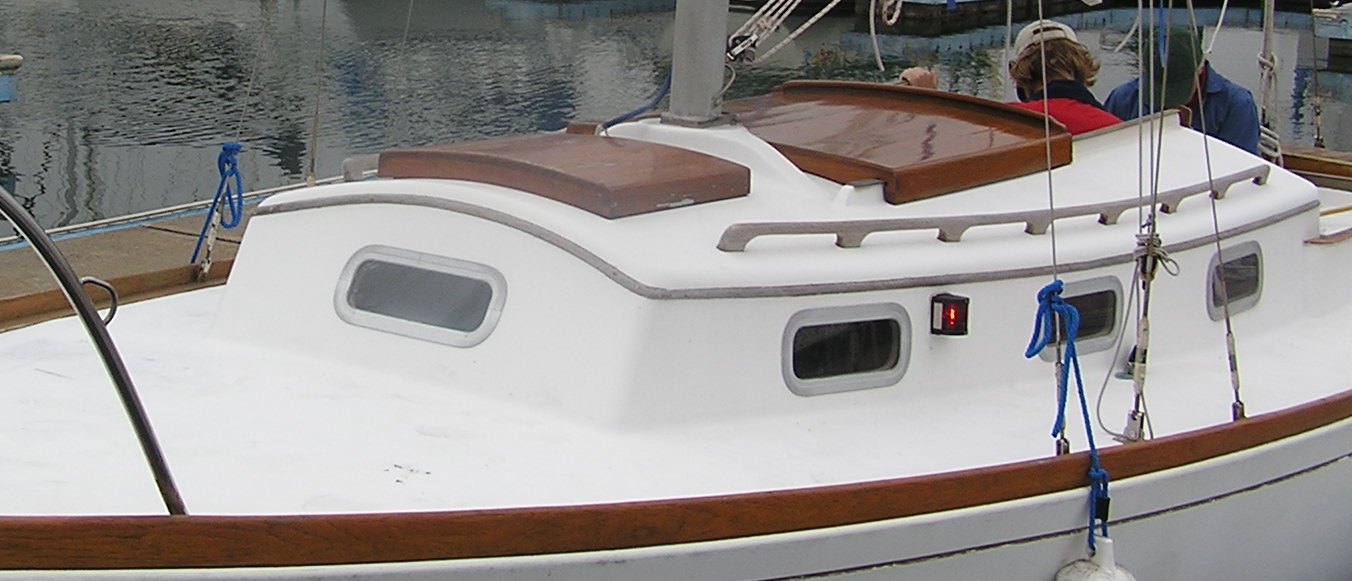
Webmaster Note: This is probably going to get me in a lot of trouble but here goes. As far as I know, the early Dolphins, Ruby and ROWDY being among our very earliest, did not originally have eyebrows! Eyebrows were introduced, on production boats, when Yankee came on the scene. The photo at left is Spectra, #78, maybe Yankee's first Dolphin made using new fiberglass cabin molds - the previous 7 boats having all wood houses. Click here for a larger view
Stay tuned
|
**************************
March 4, 2014. Jerry and Bill continue this discussion (edited)
Thanks Bill, I was thinking of thru bolting the eyebrows if I decide to add them. I do like the look of the trim and one more string of nuts inside will not look too bad. One more question, what was the spacing on the screws? I don't want to do any more drilling than necessary.
Jerry
Bill replies
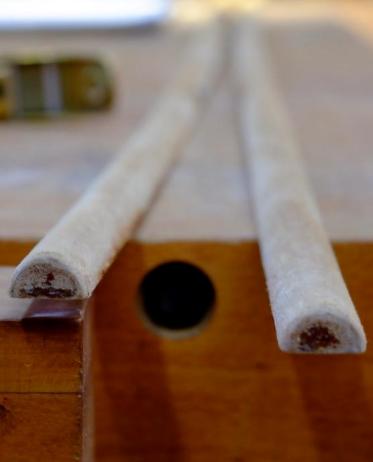
Hi Jerry. Bolts would be better, you're right about that. I’ll get you the screw spacing and more information once I get my hands on the parts again. Here is a photo of the spacers behind my lights.
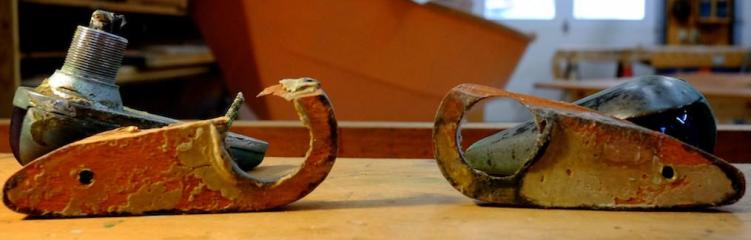
Both need to be shaped to clear the eyebrow and both need to be remade.The one on the right shows the bevel on the top to clear the trim. The one on the left, well it’s just broken. More when I have the parts again.
Bill
********************************
March 16, 2014. Continued....
Hi Jerry,
Got my parts back from the striper. At first blush I was not to pleased. Lots of raised grain but I’m finding the sanding goes very quickly and the wood looks good. Hope to start varnishing this week.
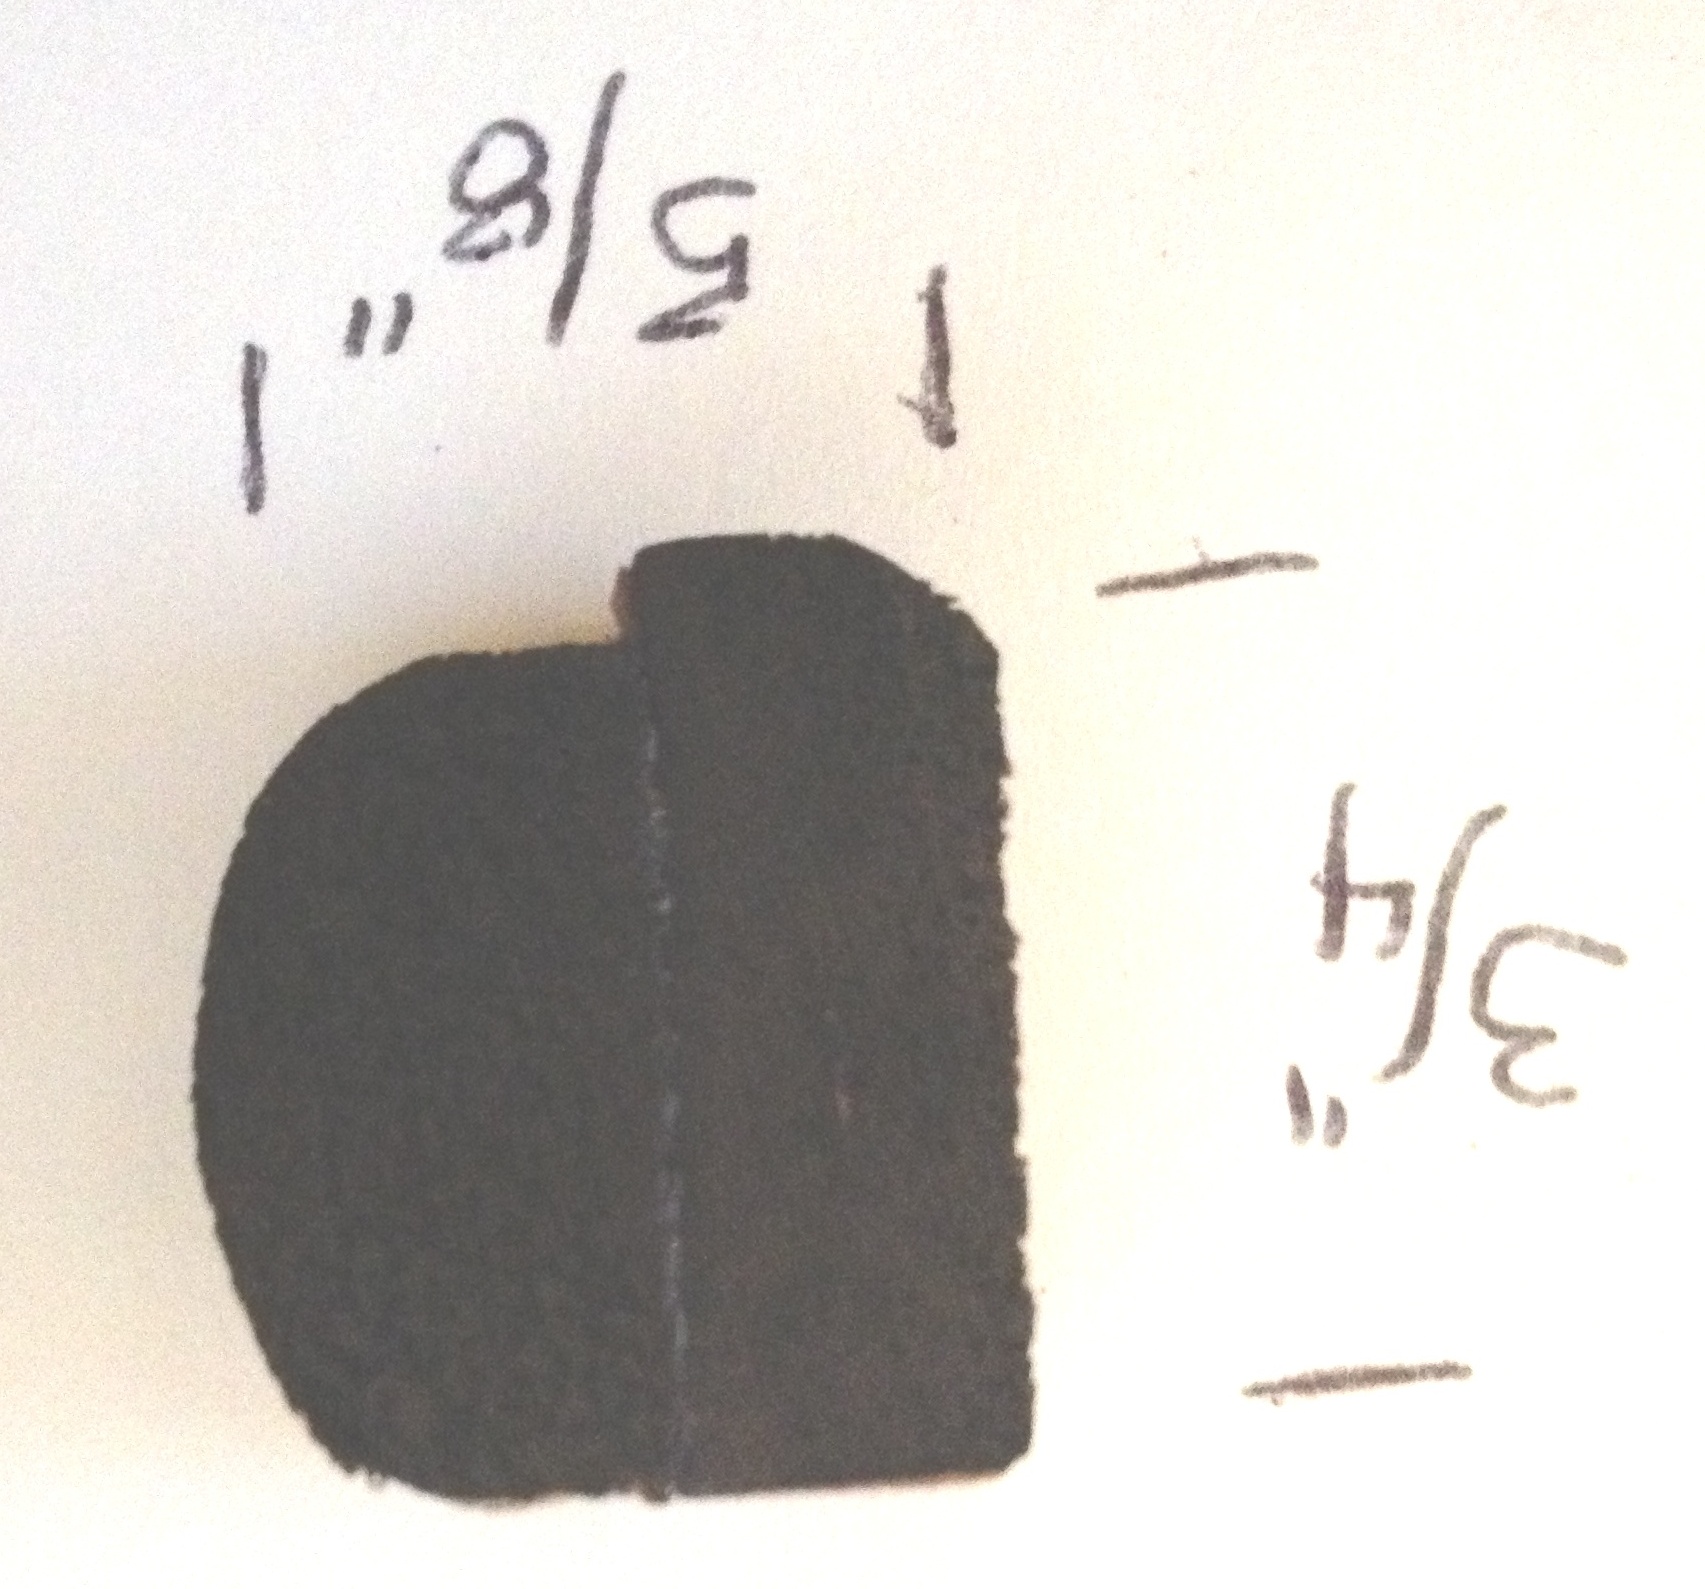
The eyebrows on Ruby are 102 7/8” long, 1” tall and 9/16” thick. I’m attaching photos of the profile.
Let me know how your's turn out.
Bill
|
|
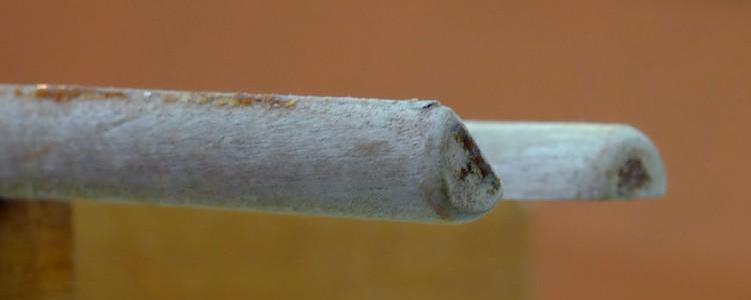
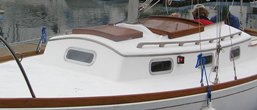
postscript: (Edited) Hi Jerry - re your follow up question on dimensions - I think the dimensions are about right, at least to my eye. I’ve attached another photo that might be helpful.
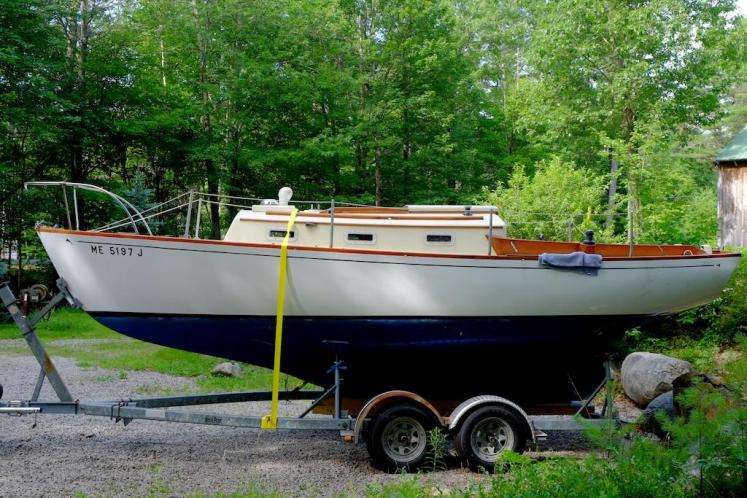
Click on picture for a larger view
Looking at this shot taken in my drive some time ago it’s hard to believe there is that much green in the world. It’s bracing cold today and we still have a heavy snow pack. Personally, I like it.
It will be late April before I have Ruby put back together but I’ll send photos of the installed eyebrows if you have not finished yours by then. As a historical note the former owner had them installed on the boat way-back.
Keep me posted.
Bill
**********************************
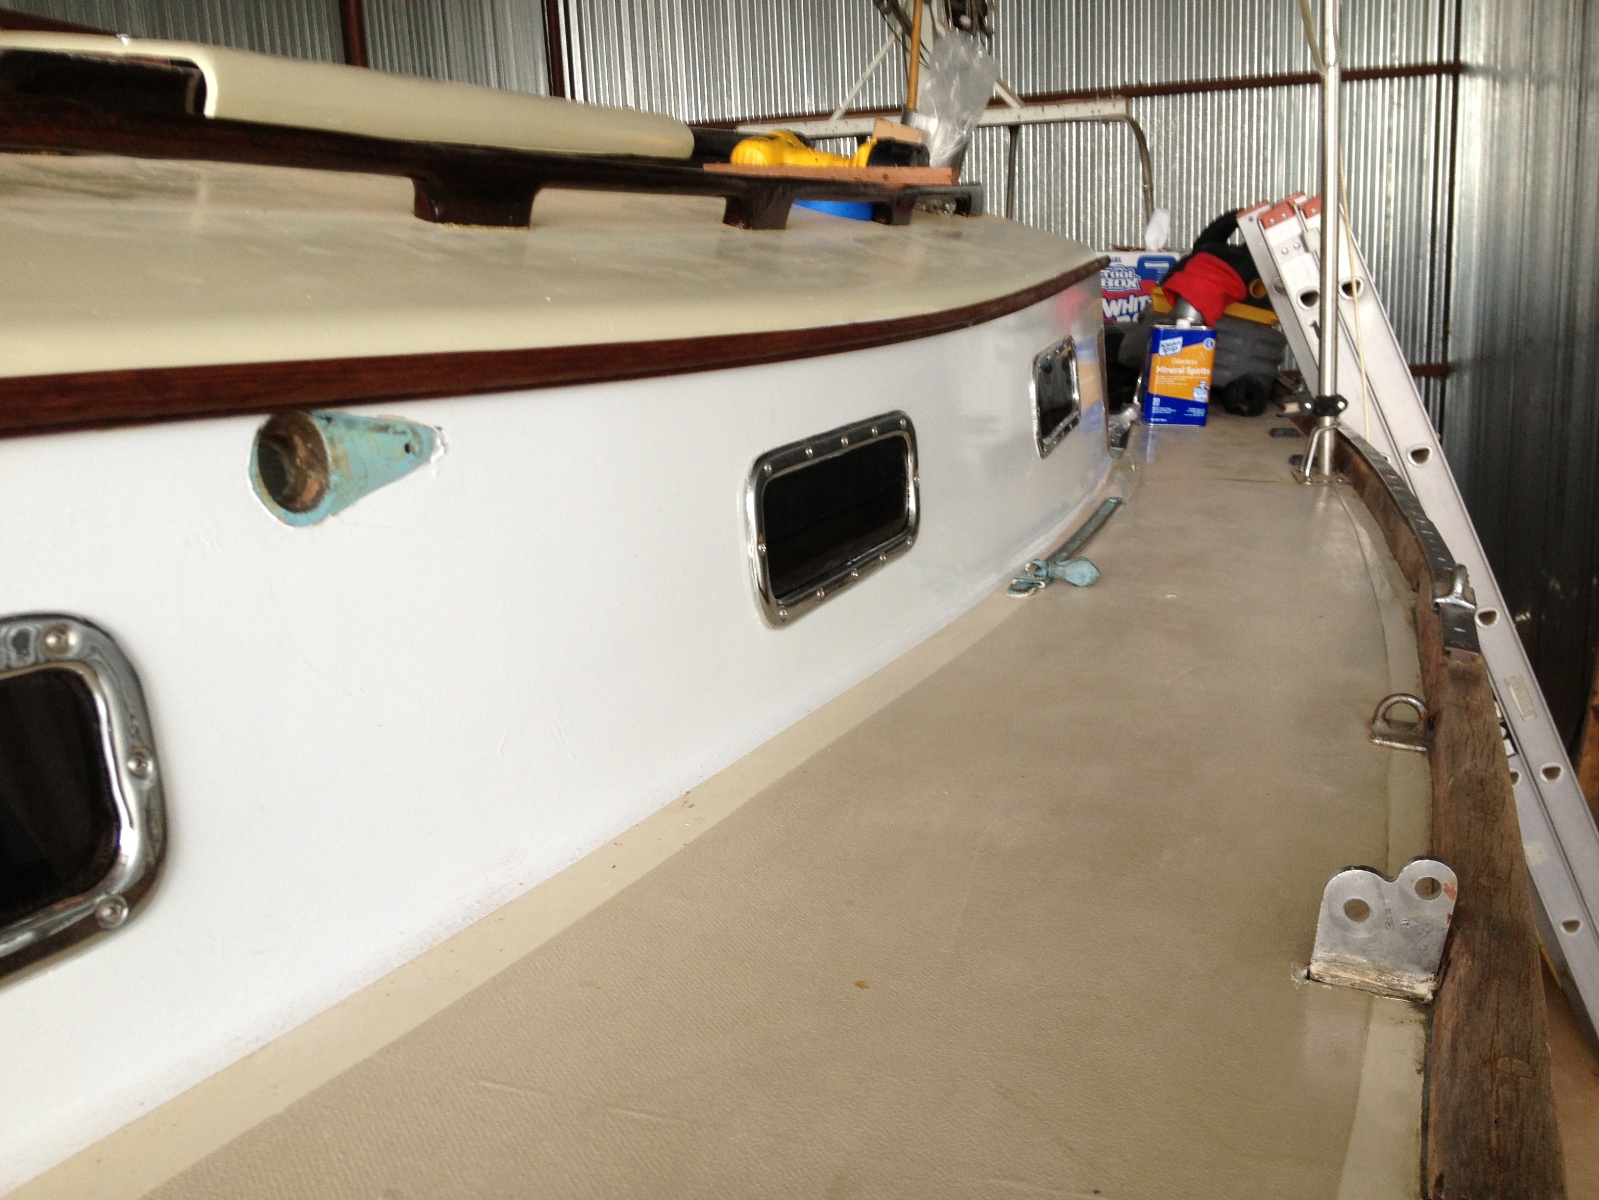
April 7, 2014. ROWDY has her new eyebrows (excerpted and edited from Jerry's update on ROWDY's page)
Hi Ron,
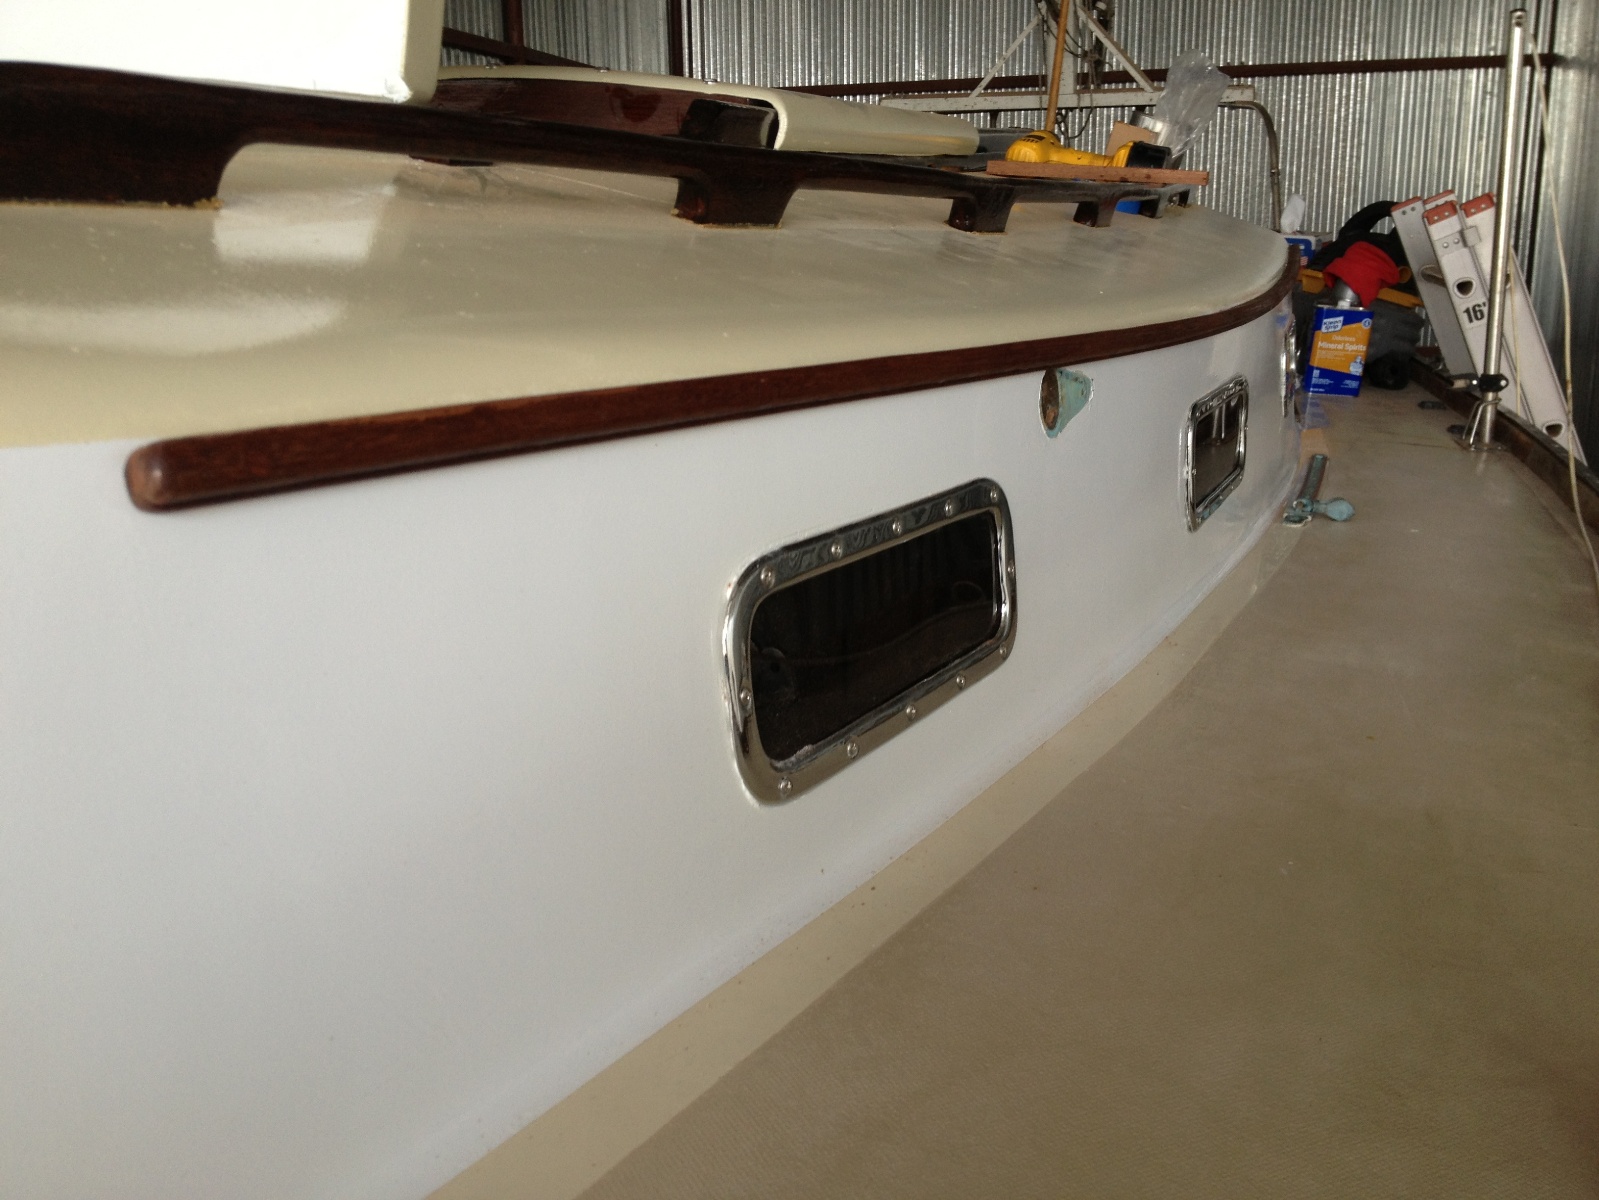
Well ROWDY now has a new set of eyebrows, only lacking a little mascara. I've attached a couple of photos but we will not be able to get a good shot of the eyebrows till I move the boat to the coast.
Click on the images above for a larger view
|
I decided to go with a 3/4 inch design which should be easier to trim out for the side lights. The profile consists of a piece of 3/4" X 1/4" flat stock and a 3/4" half round, with both edges knocked off with a plane, glued to it (see photo at left).
I wanted to get a small drip edge on the molding to keep some water from wicking up behind it. I only bedded the fastener locations, located every 12 inches, rather than the whole 103" of eyebrow. I always make a mess when working with bedding and long pieces of trim.
Jerry
Click on the photo for a larger view
|
I decided to go with a 3/4 inch design which should be easier to trim out for the side lights. The profile consists of a piece of 3/4" X 1/4" flat stock and a 3/4" half round, with both edges knocked off with a plane, glued to it (see attached photo). I wanted to get a small drip edge on the molding to keep some water from wicking up behind it. I only bedded the fastener locations, located every 12 inches, rather than the whole 103" of eyebrow. I always make a mess when working with bedding and long pieces of trim.
The cockpit coamings have been getting a bunch of varnish and should be ready to re-attach this week. I'm still working on the traveler track base and it should be ready in 5-6 days.My paint arrived this week and I have sanded the transom in anticipation of applying the primer. I ordered ROWDY's name and hailing port. It should be ready this week and I'll take a photo when the name is attached.I've decided to pull the lifeline stanchions for rebidding and perhaps redesigning the backing blocks. I'm a little confused over the way the stanchions are attached so we will see what they (the prior owner) had in mind when I dismantle their work.I've attached a few photos but we will not be able to get a good shot of the eyebrows till I move the boat to the coast.. As always, I appreciate the good work you do on this web site, please keep it up.
Jerry
***************************************
May 27, 2014. Jerry's update on eyebrows/running light pads....
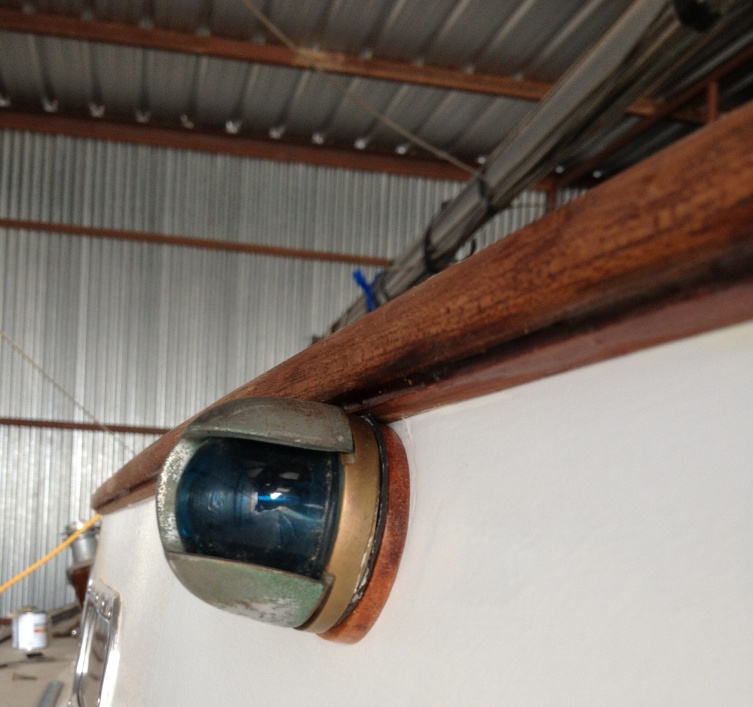
The port and starboard running lights were attached with wood pads that kept me from having to trim the eyebrows.
to be continued
|
|


